Email format error
Email cannot be empty
Email already exists
6-20 characters(letters plus numbers only)
The password is inconsistent
Email format error
Email cannot be empty
Email does not exist
6-20 characters(letters plus numbers only)
The password is inconsistent

91原创 INNER CV JOINT TO-7511 FOR TOYOTA CAMRY OE 4340917010
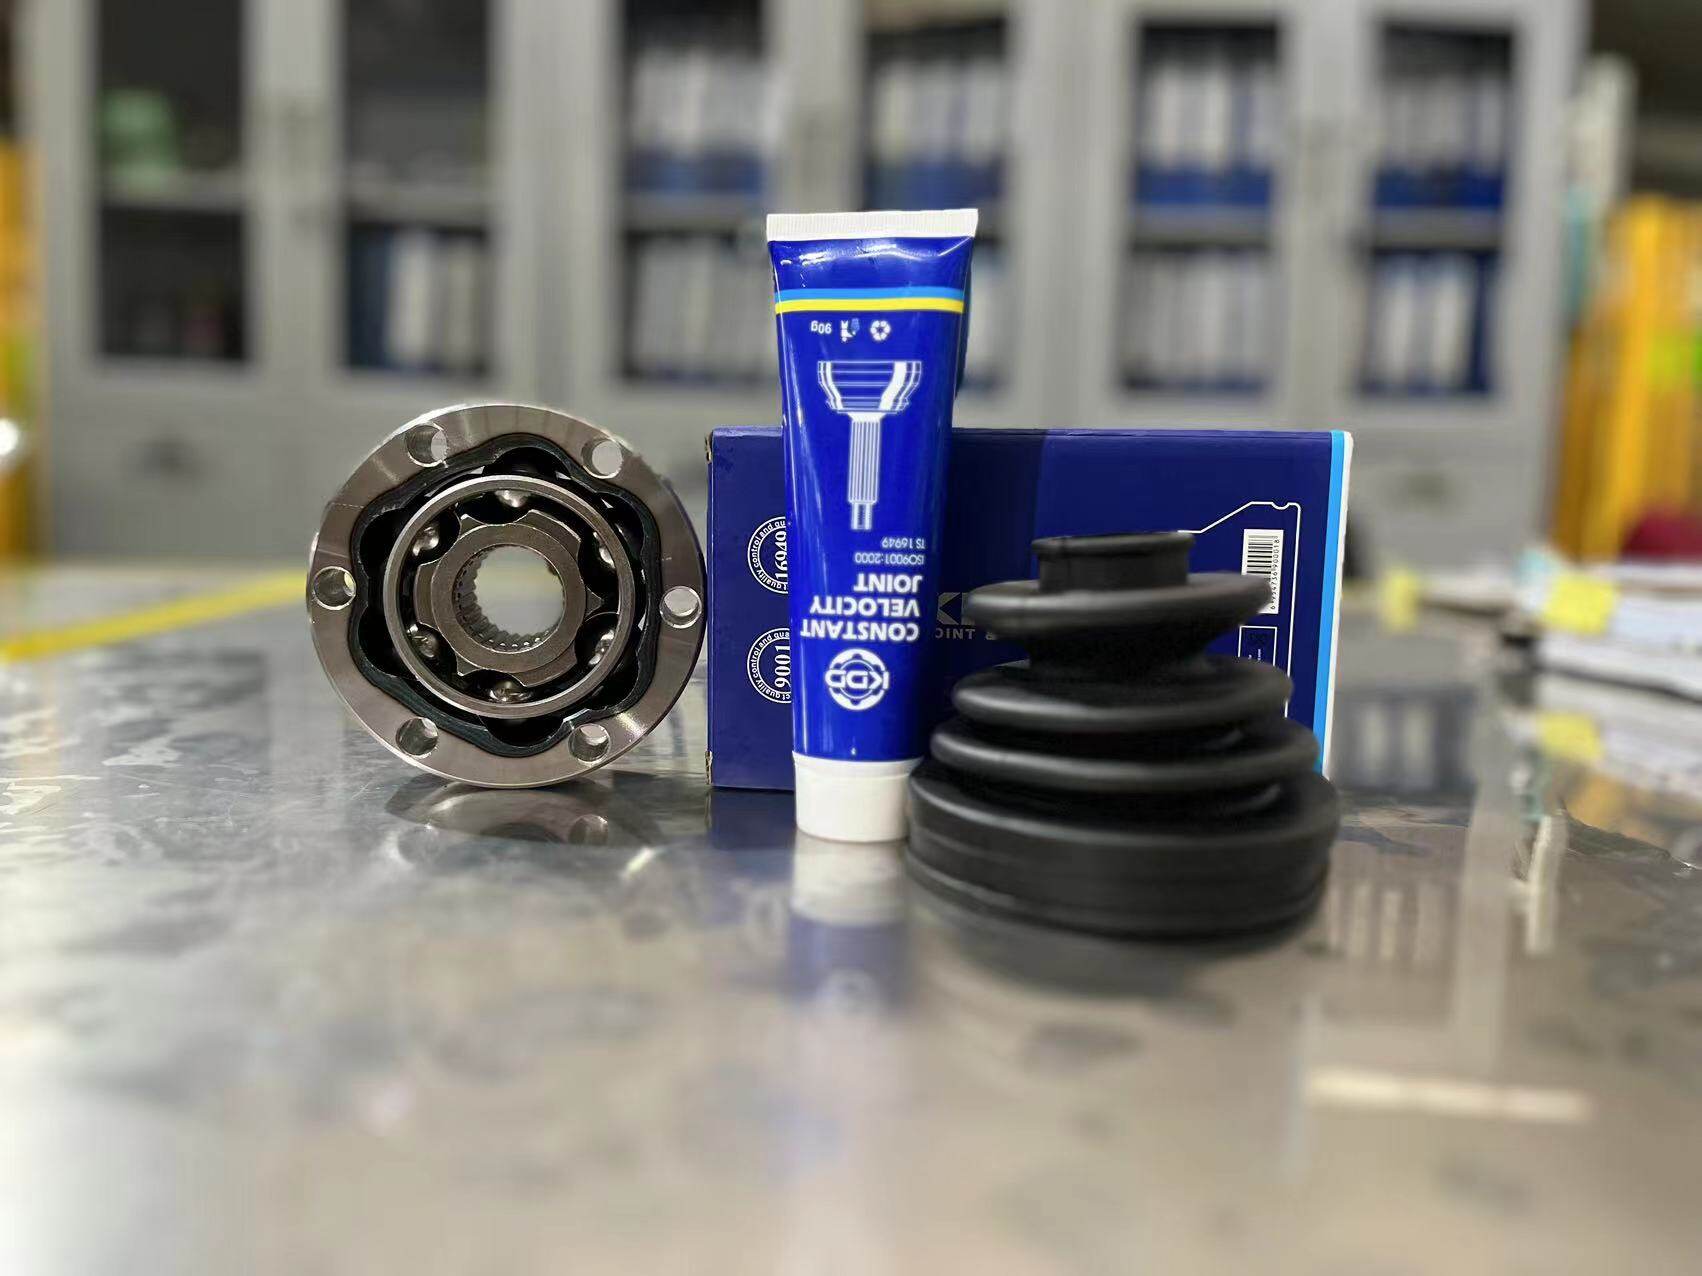
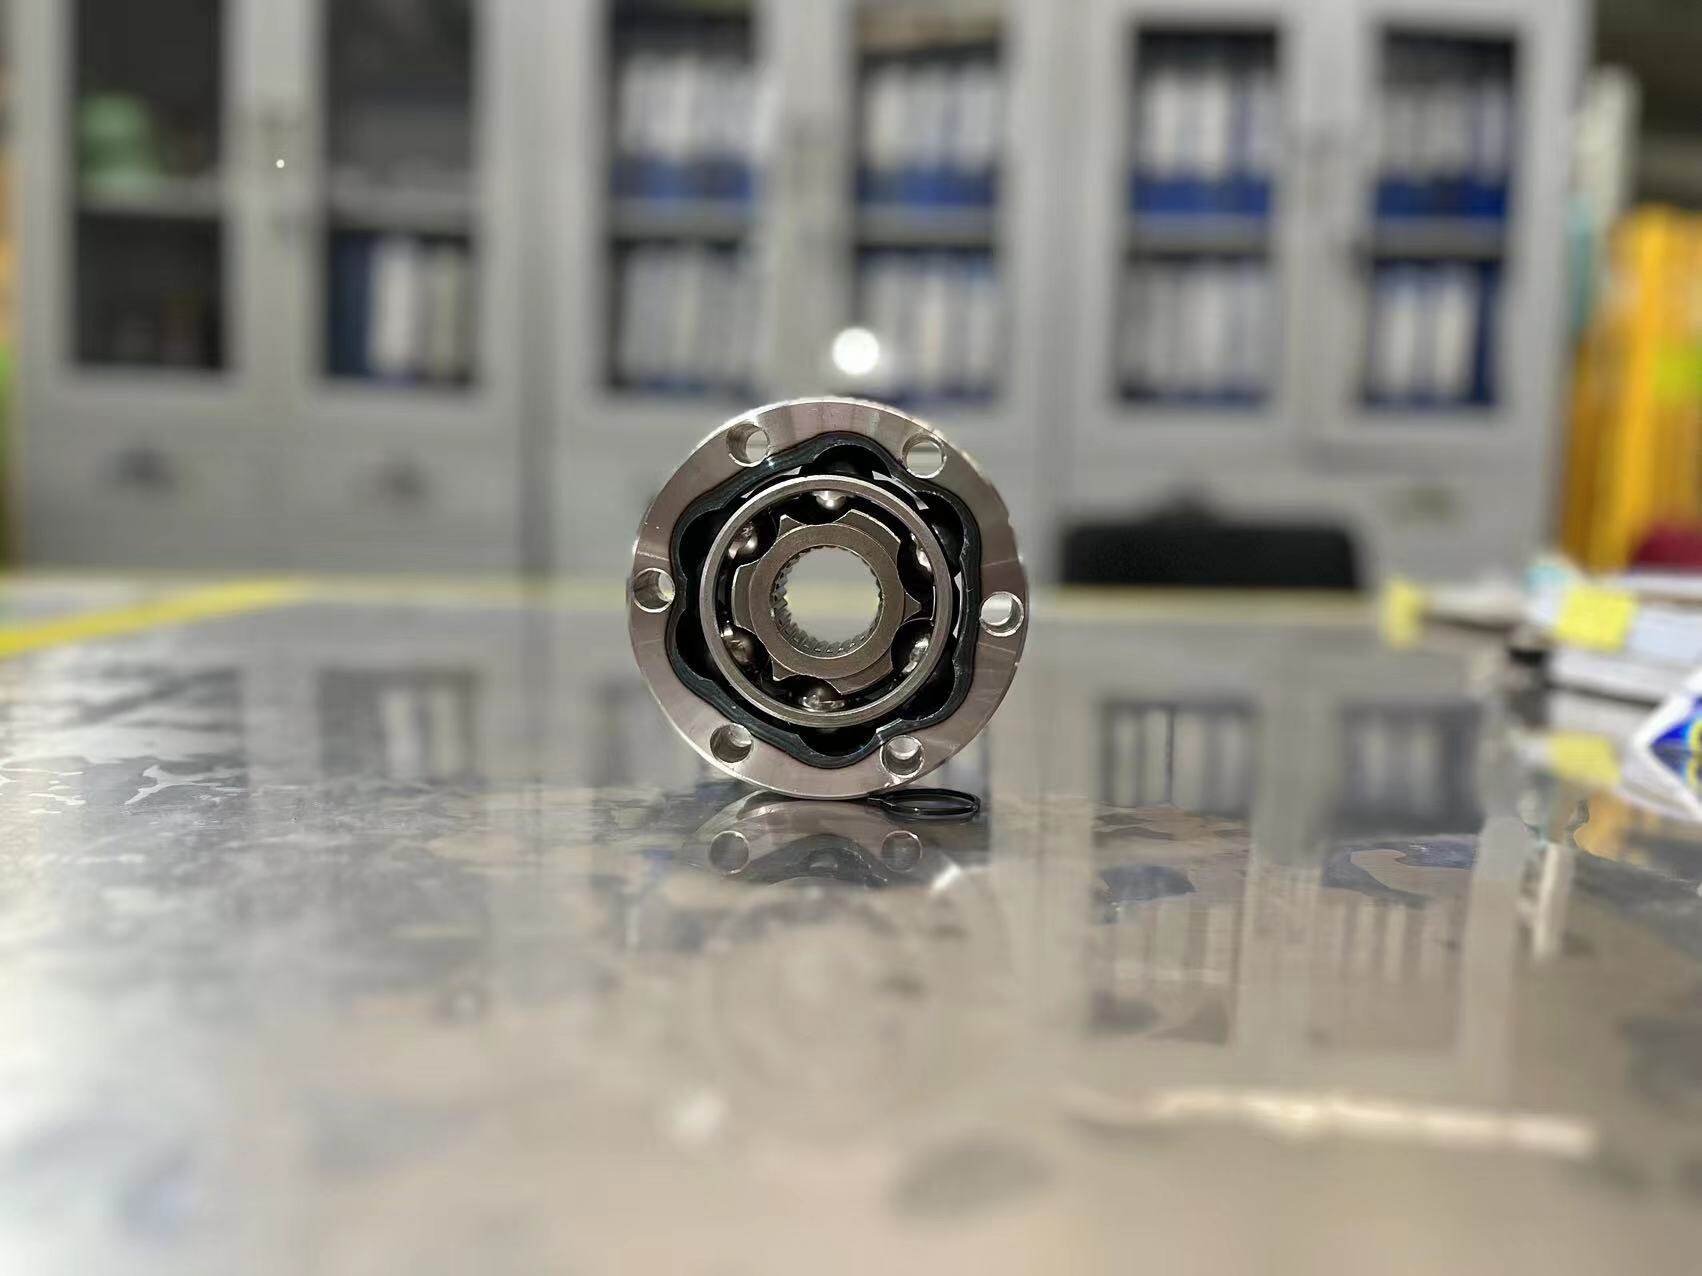
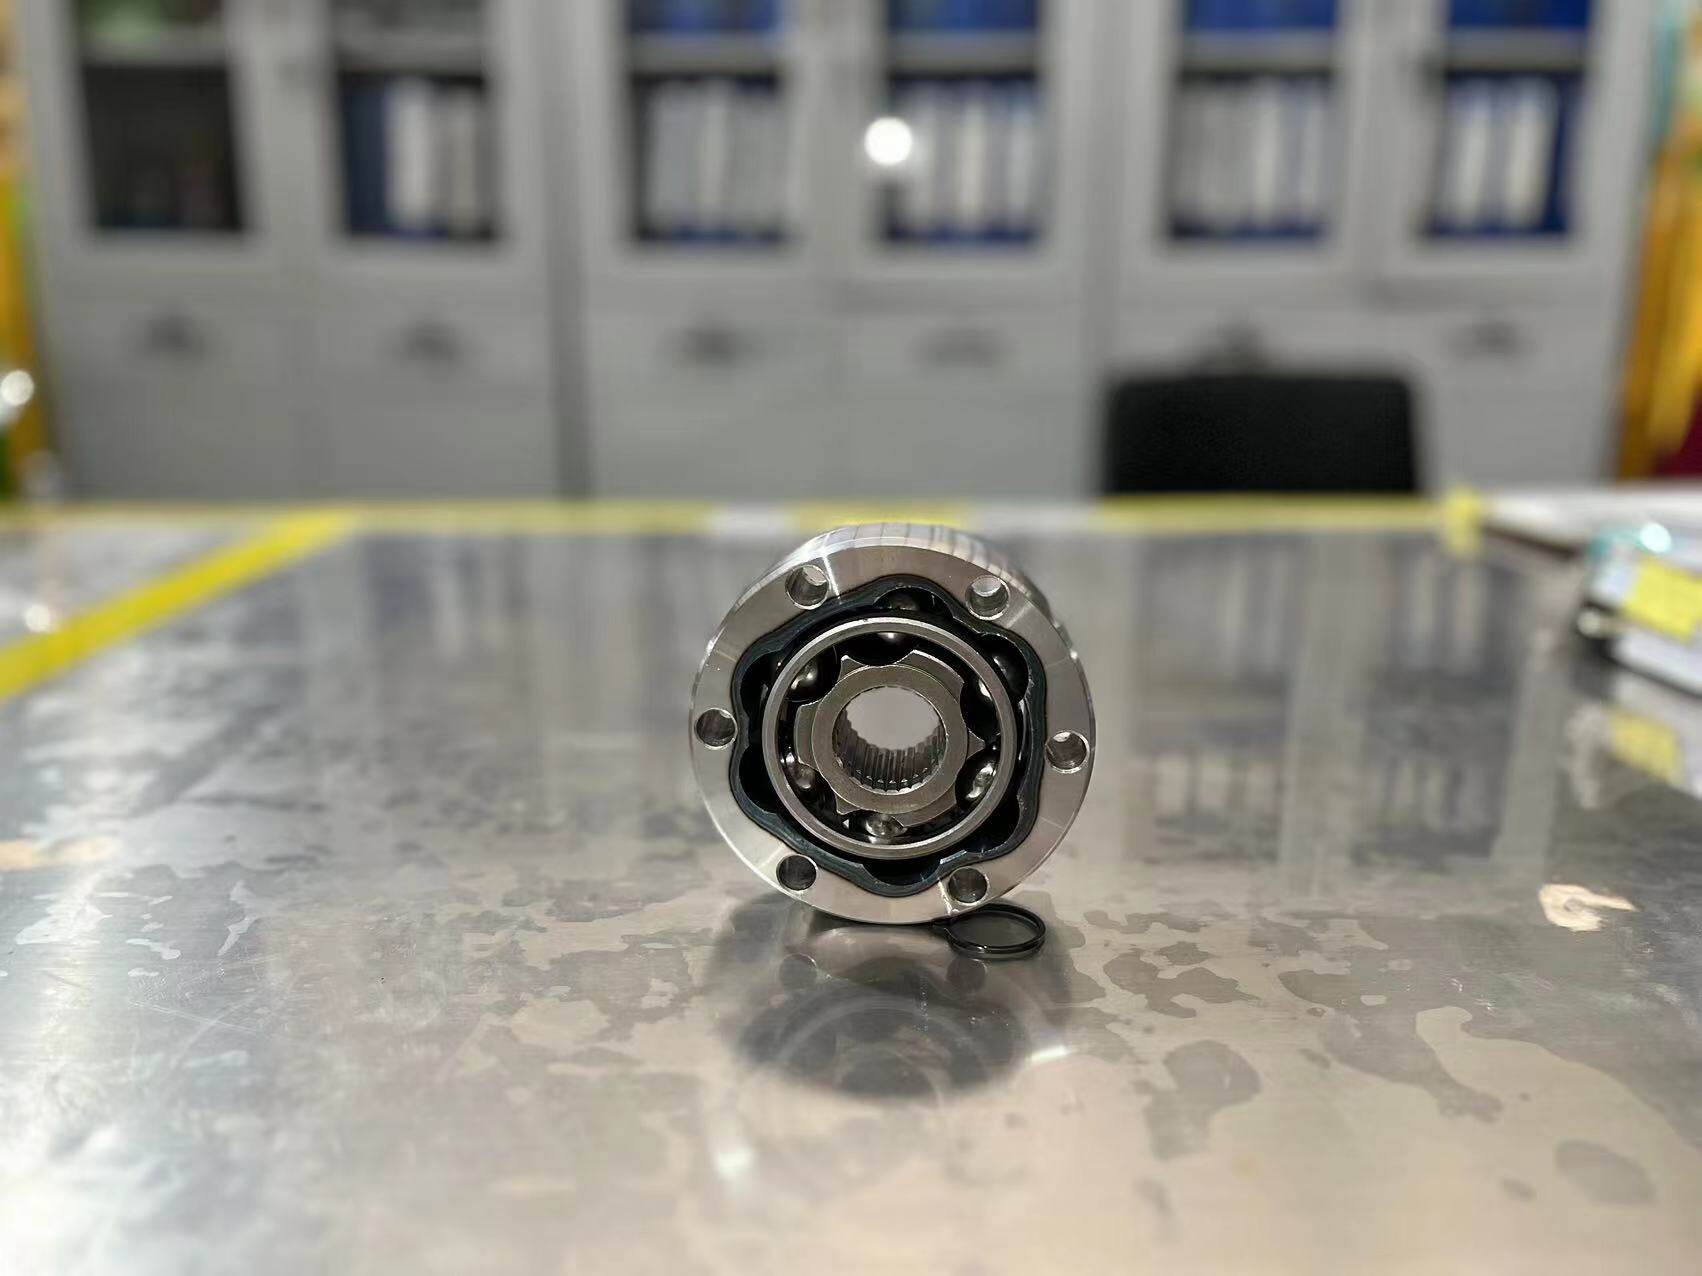
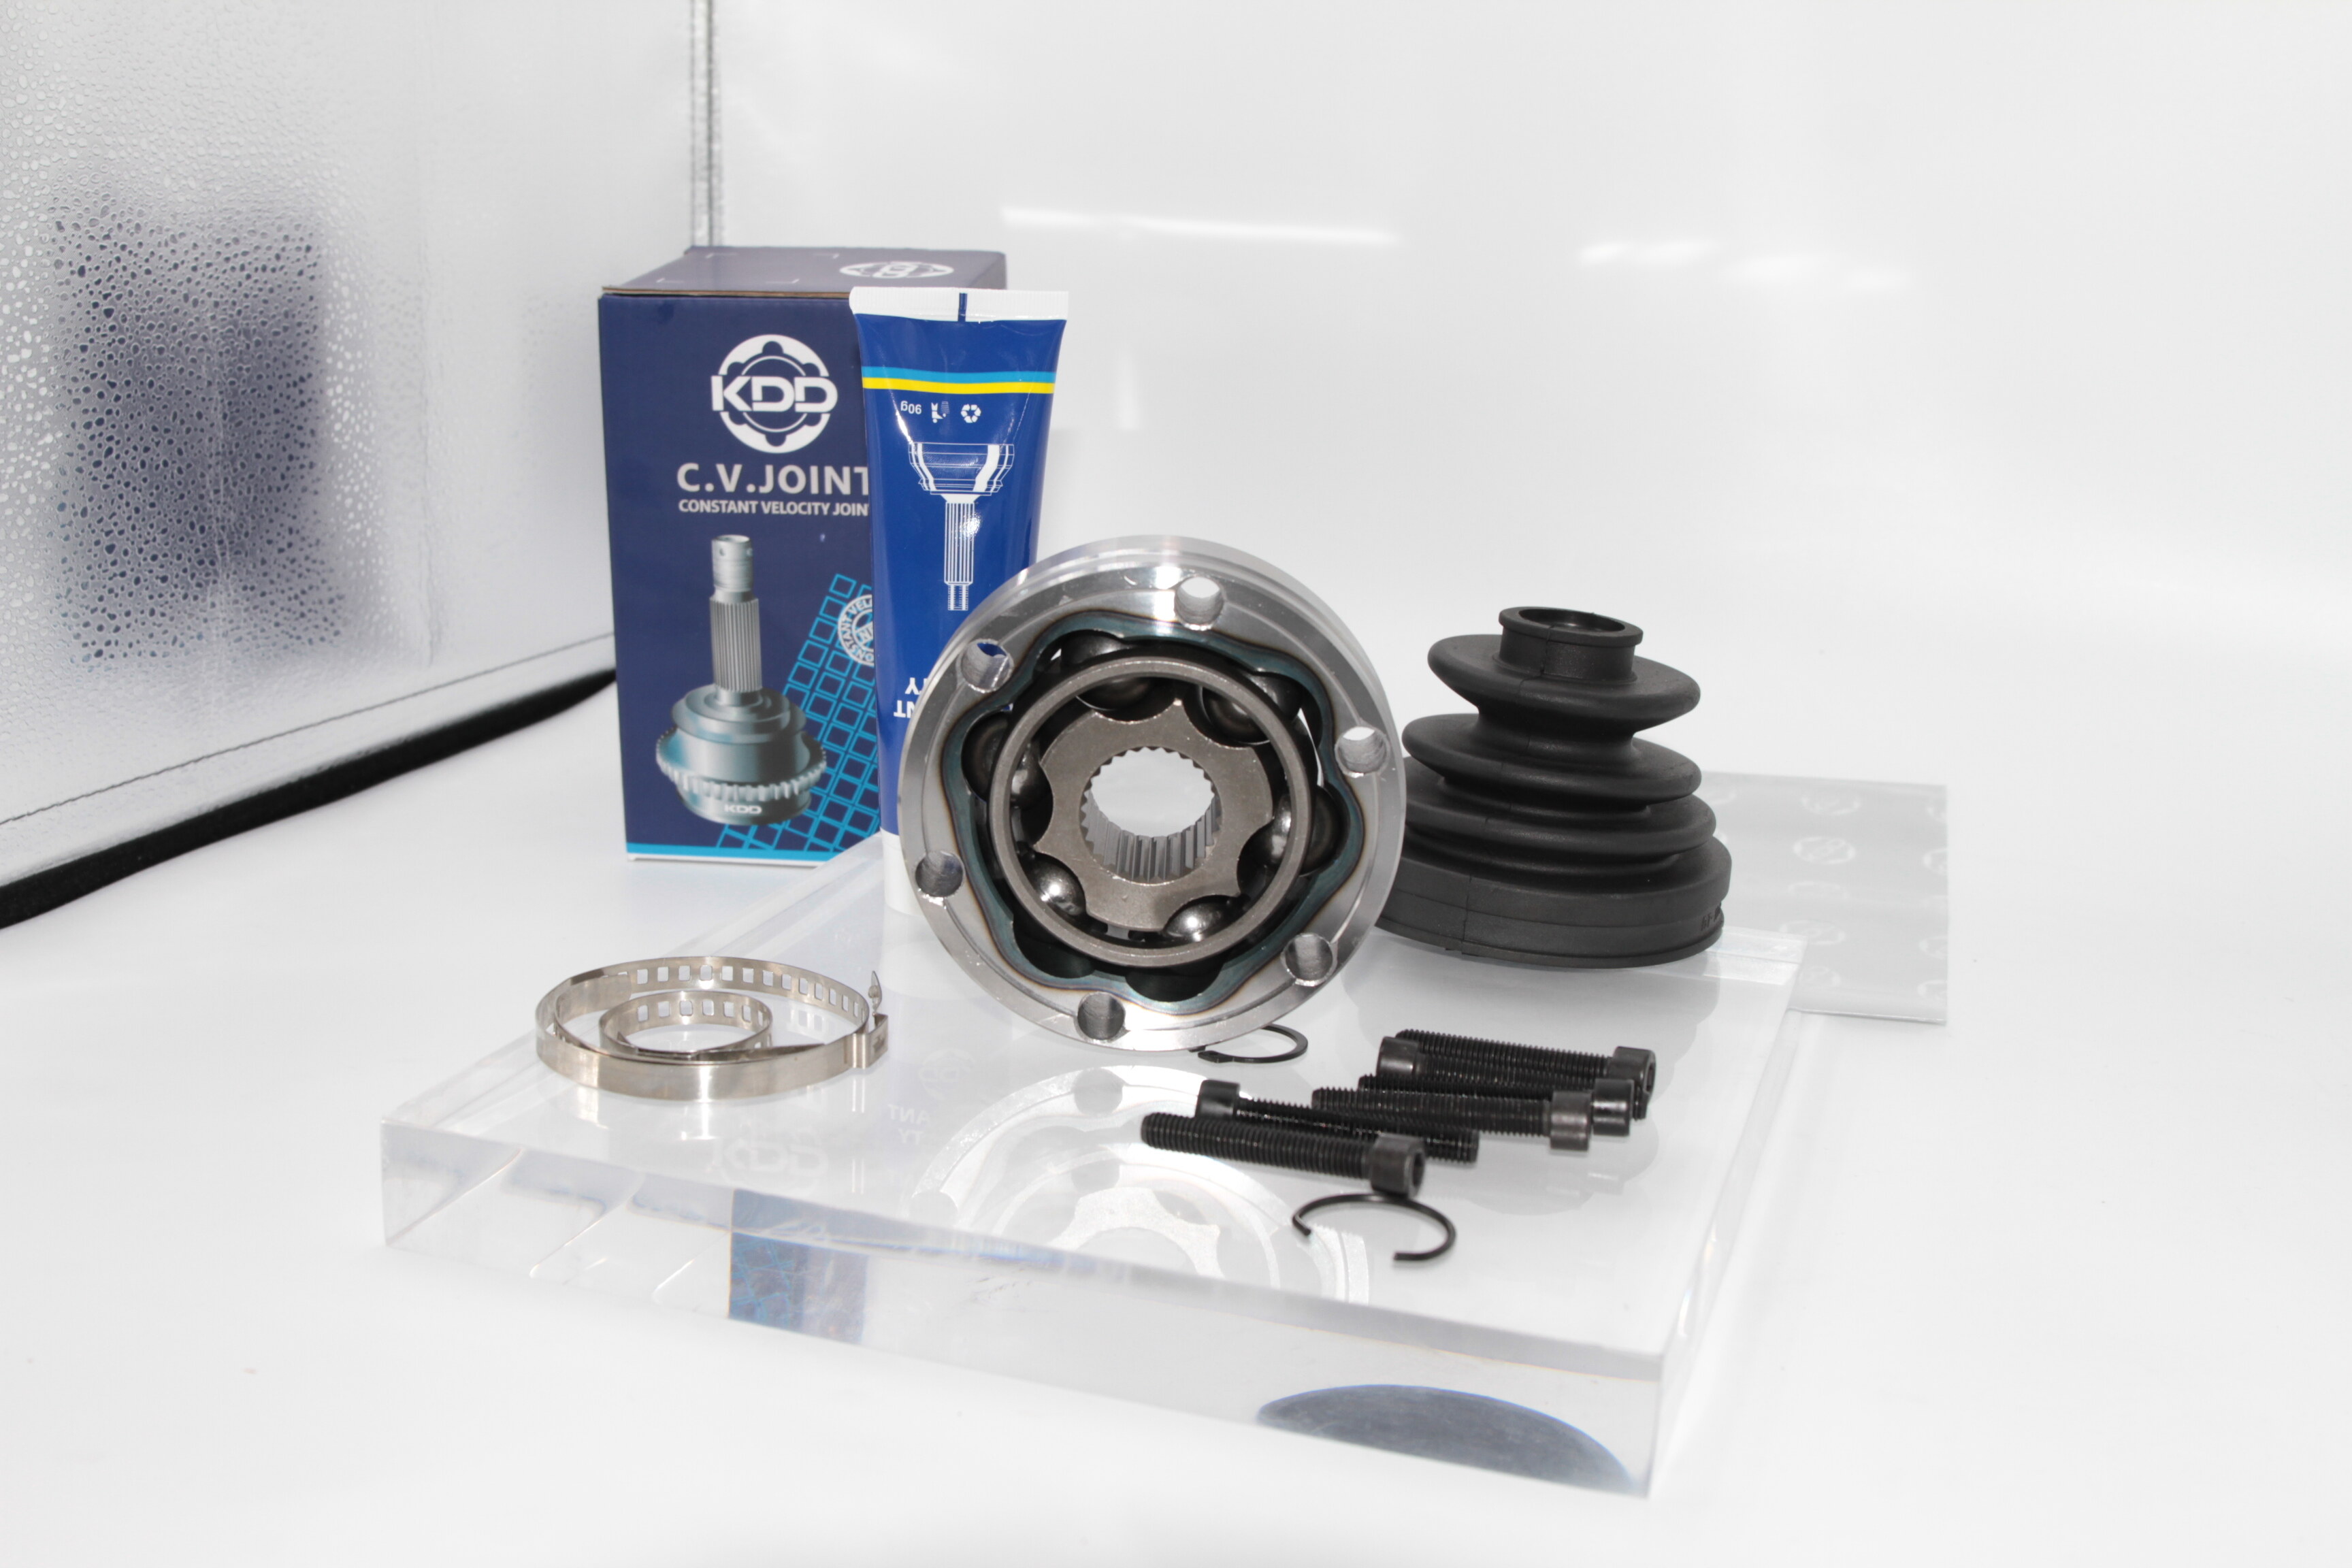
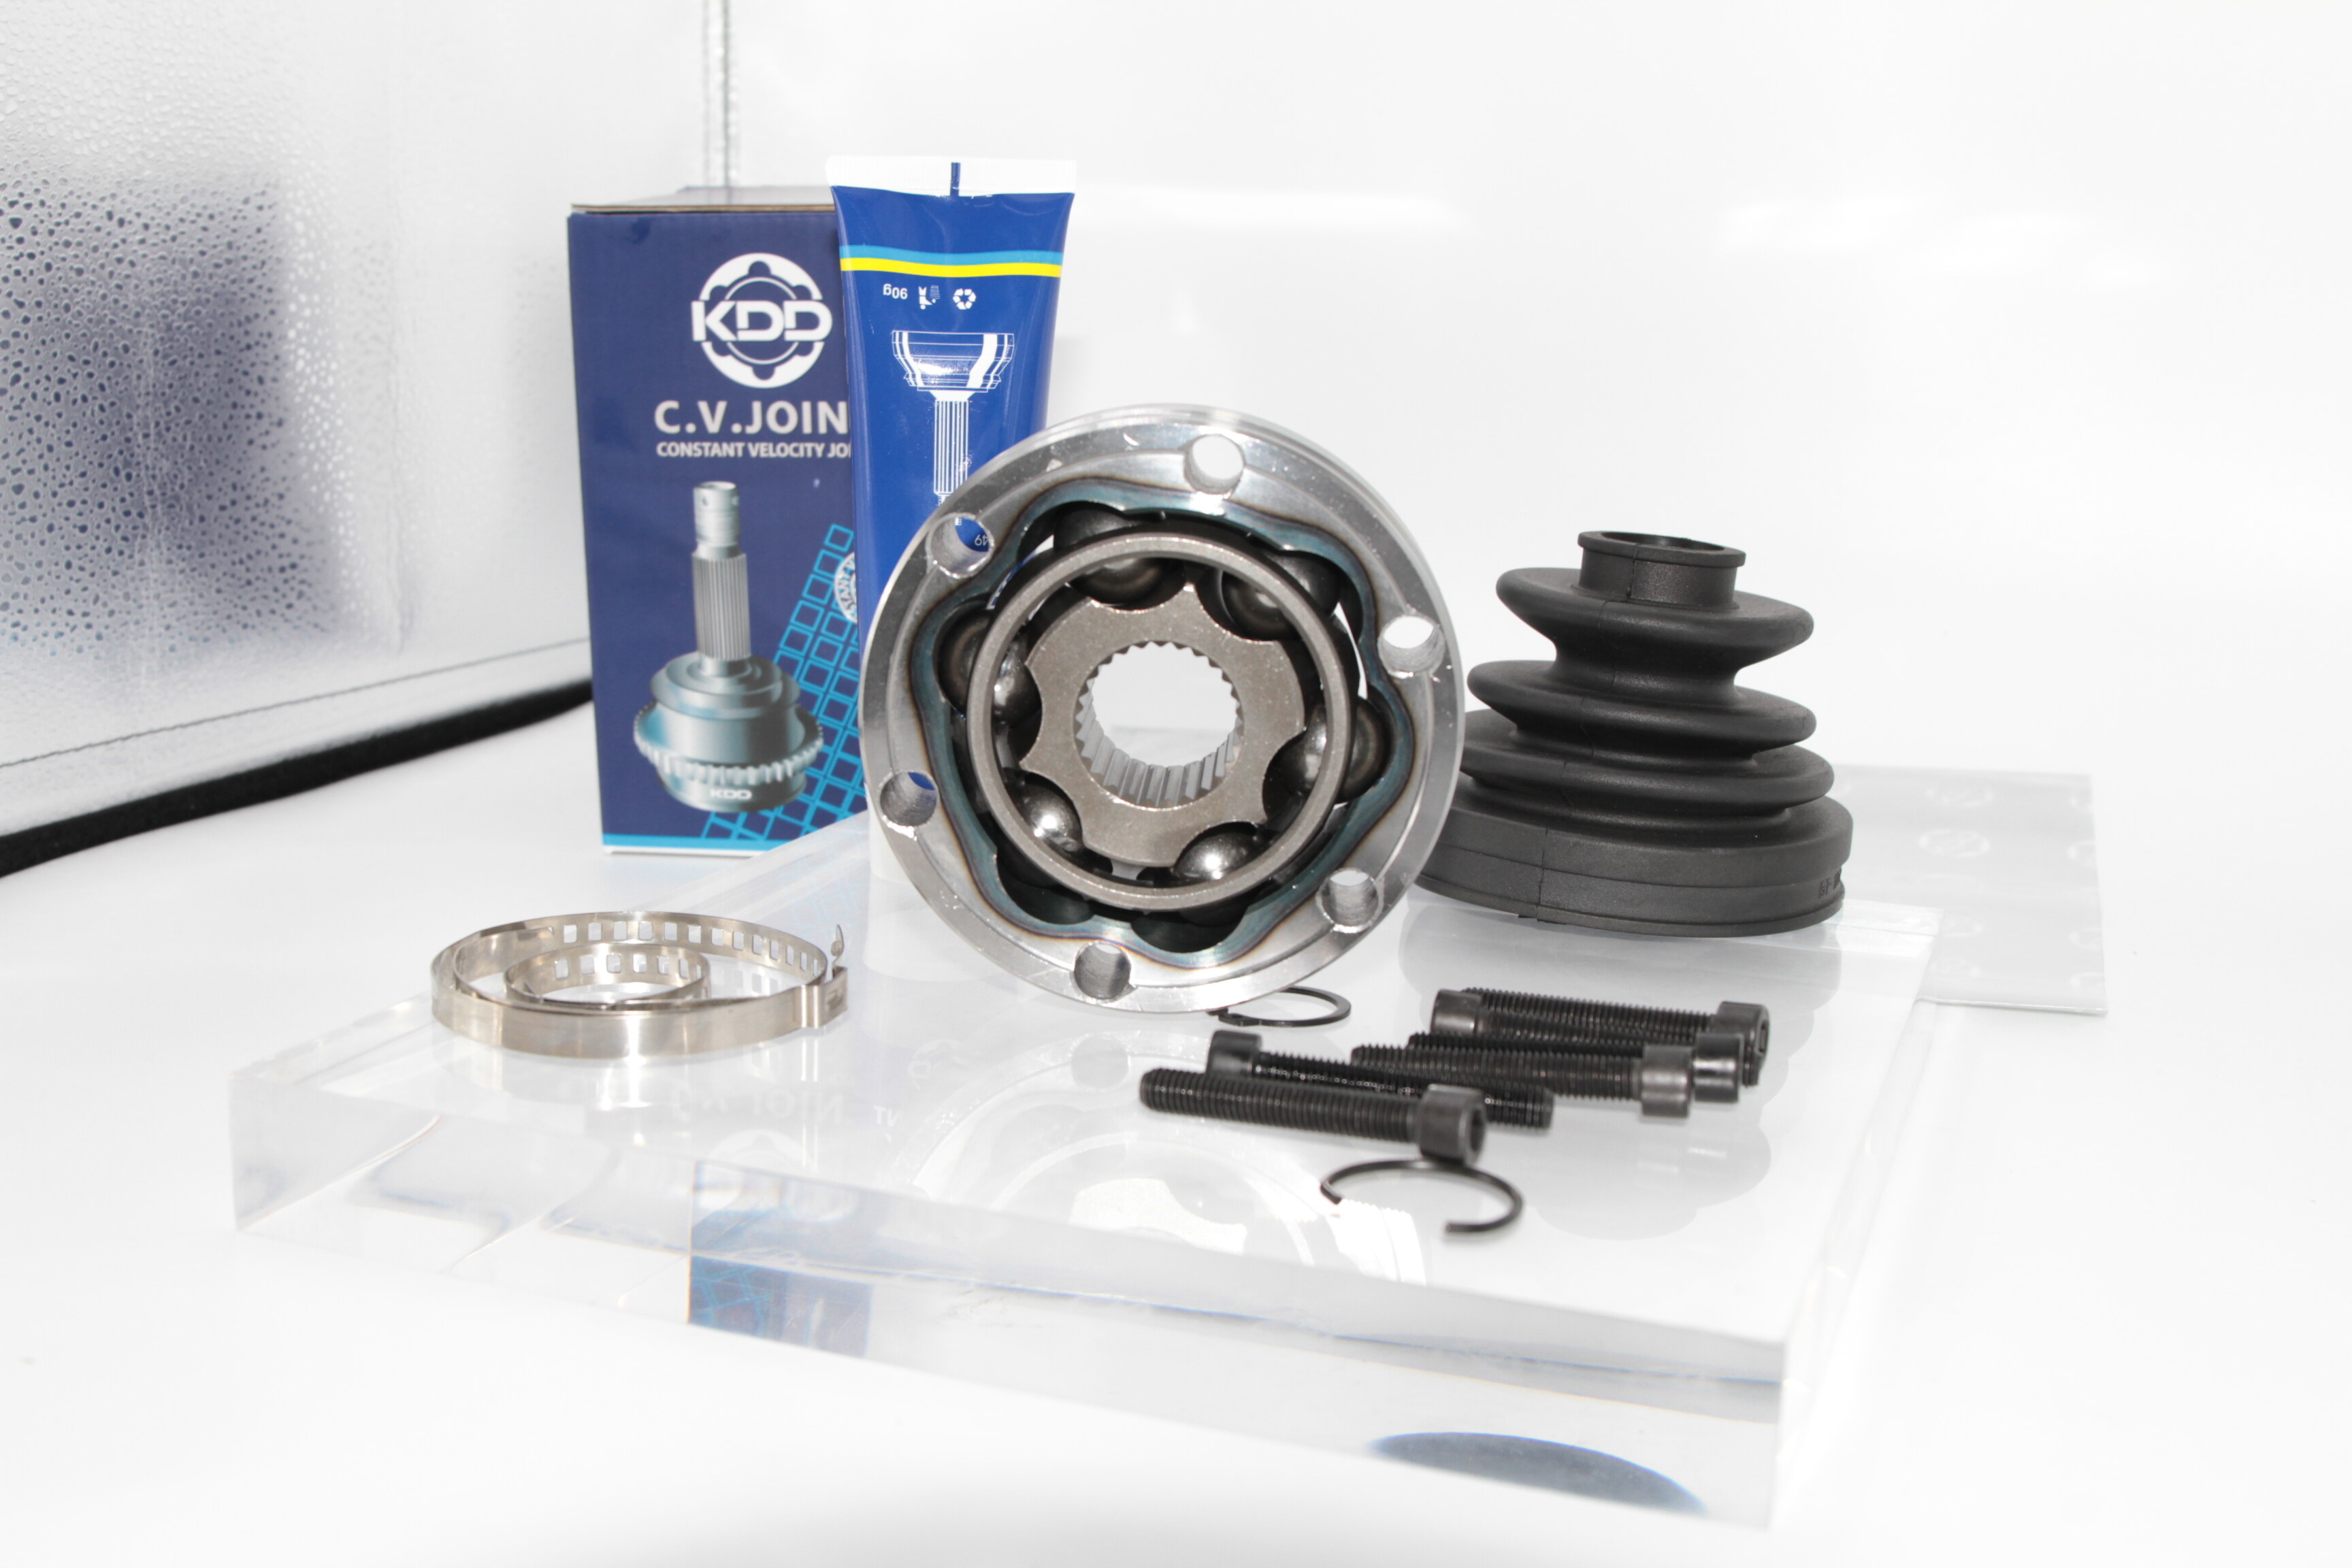
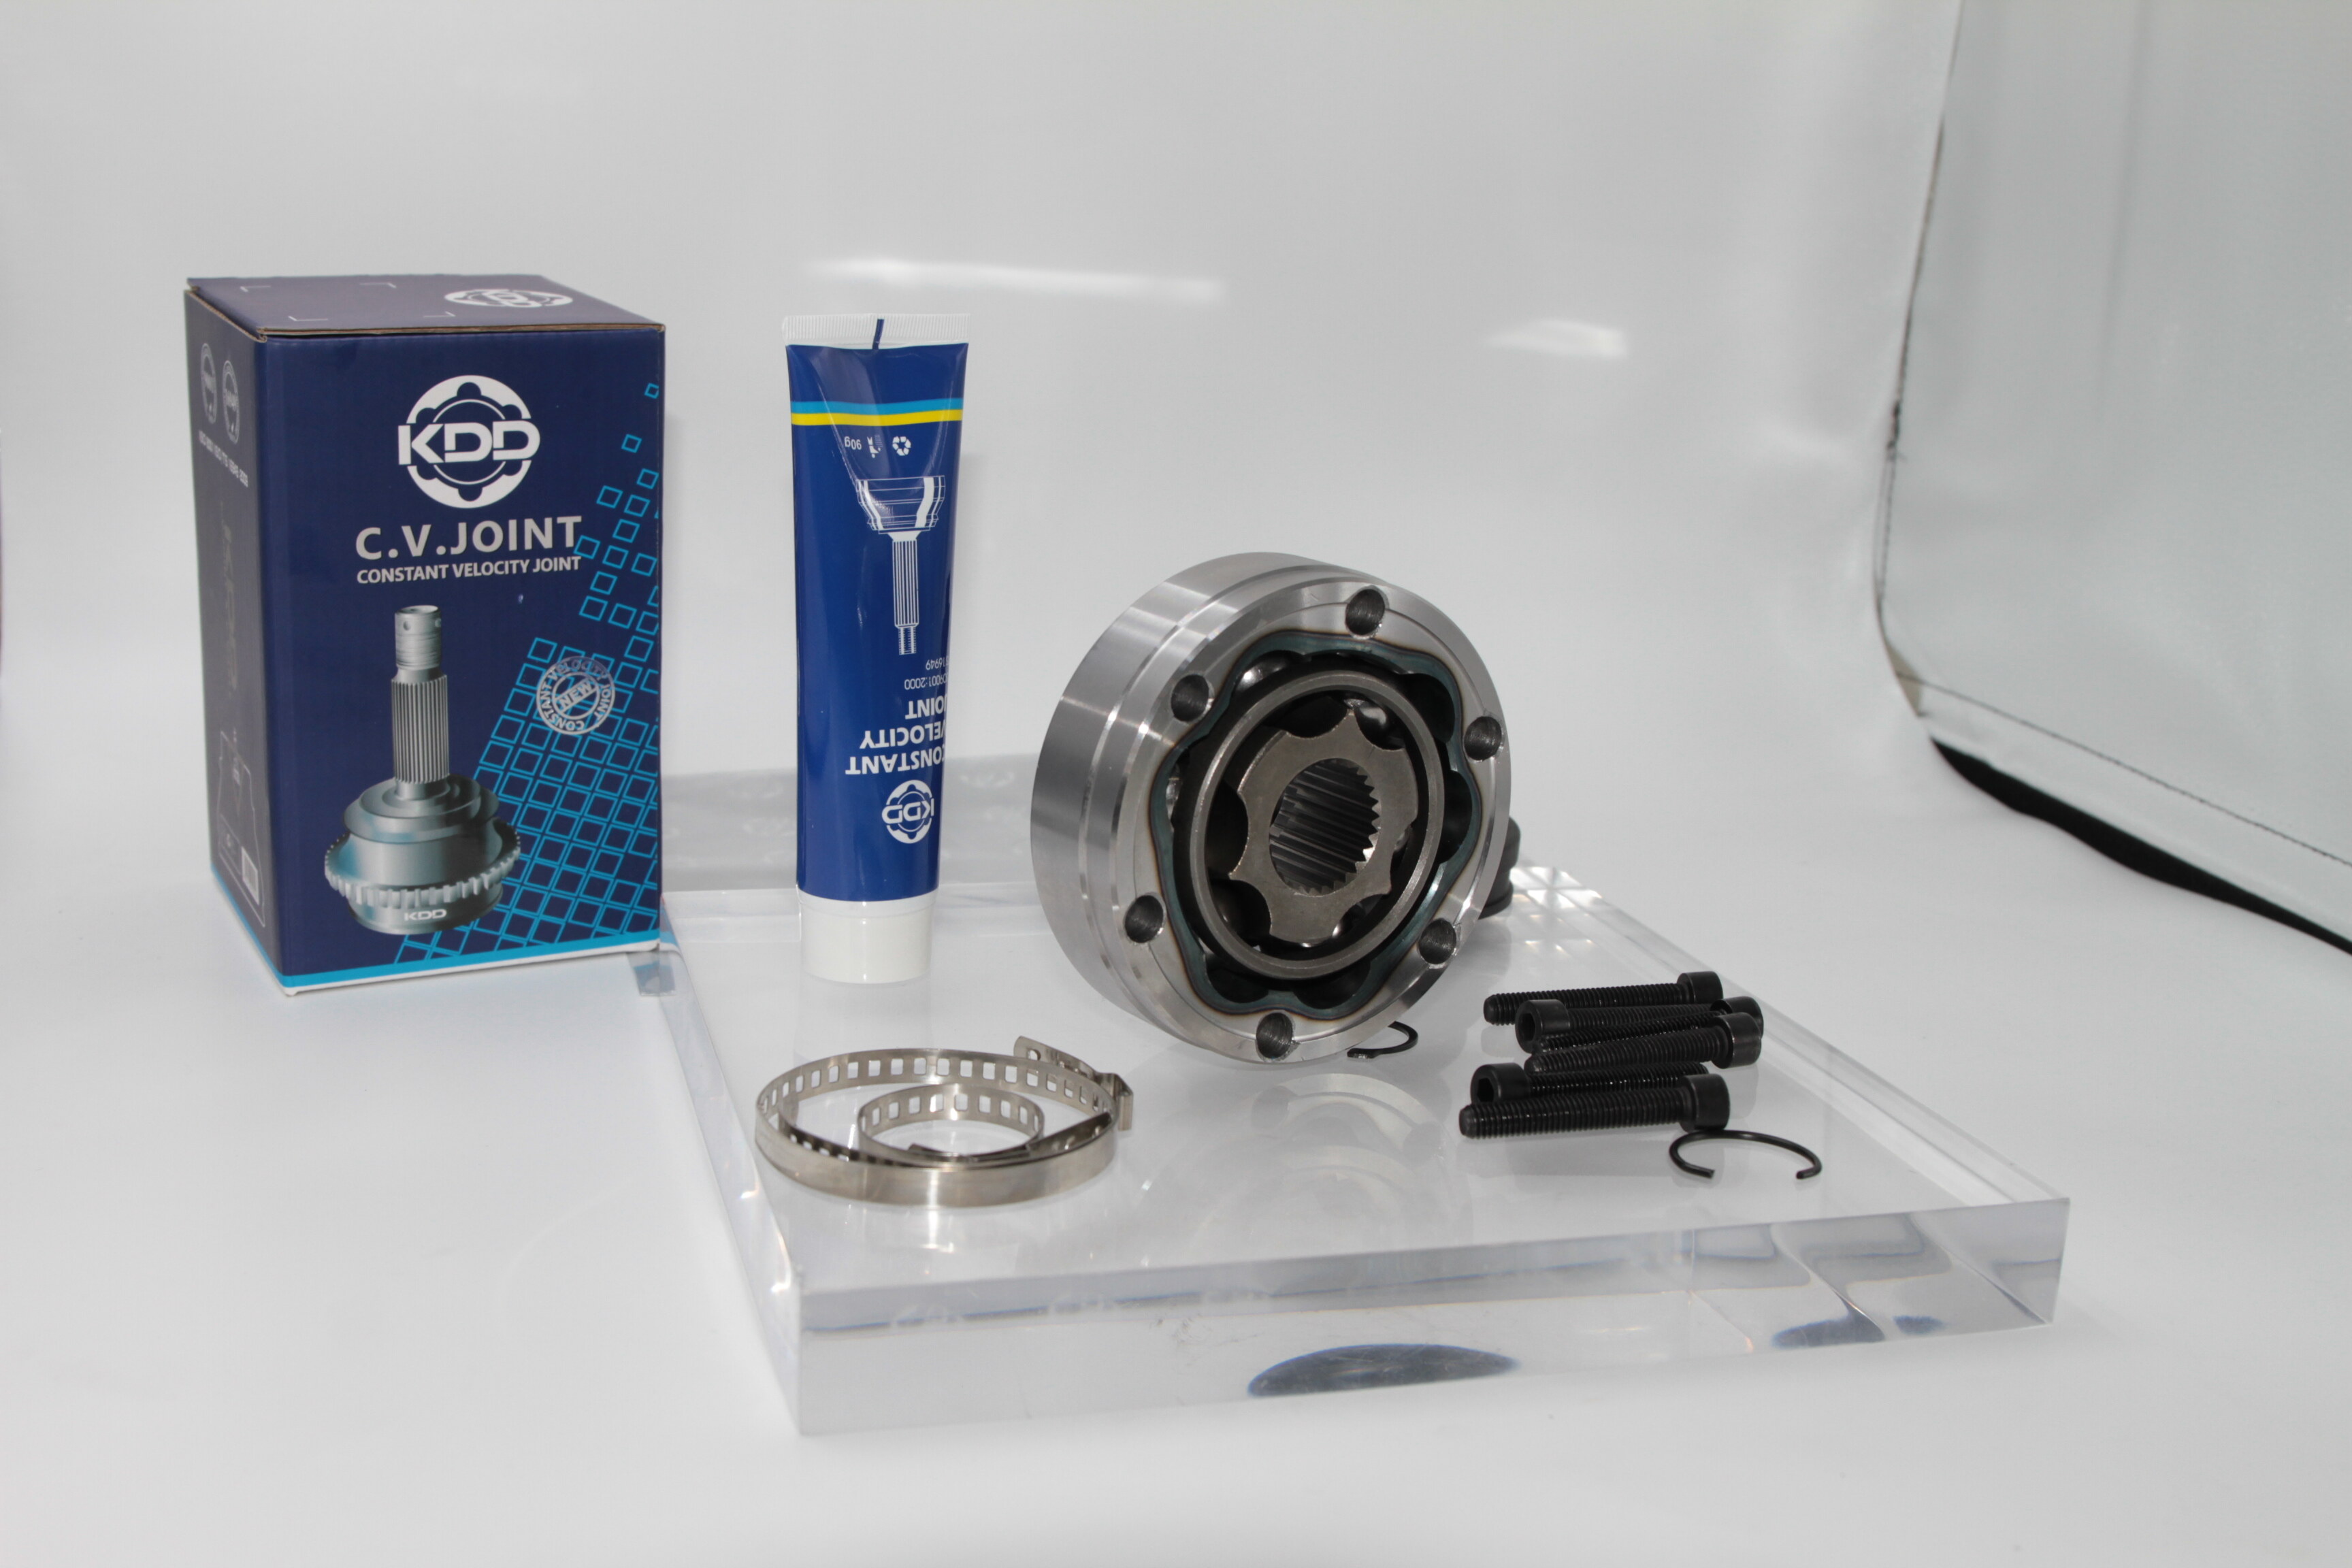
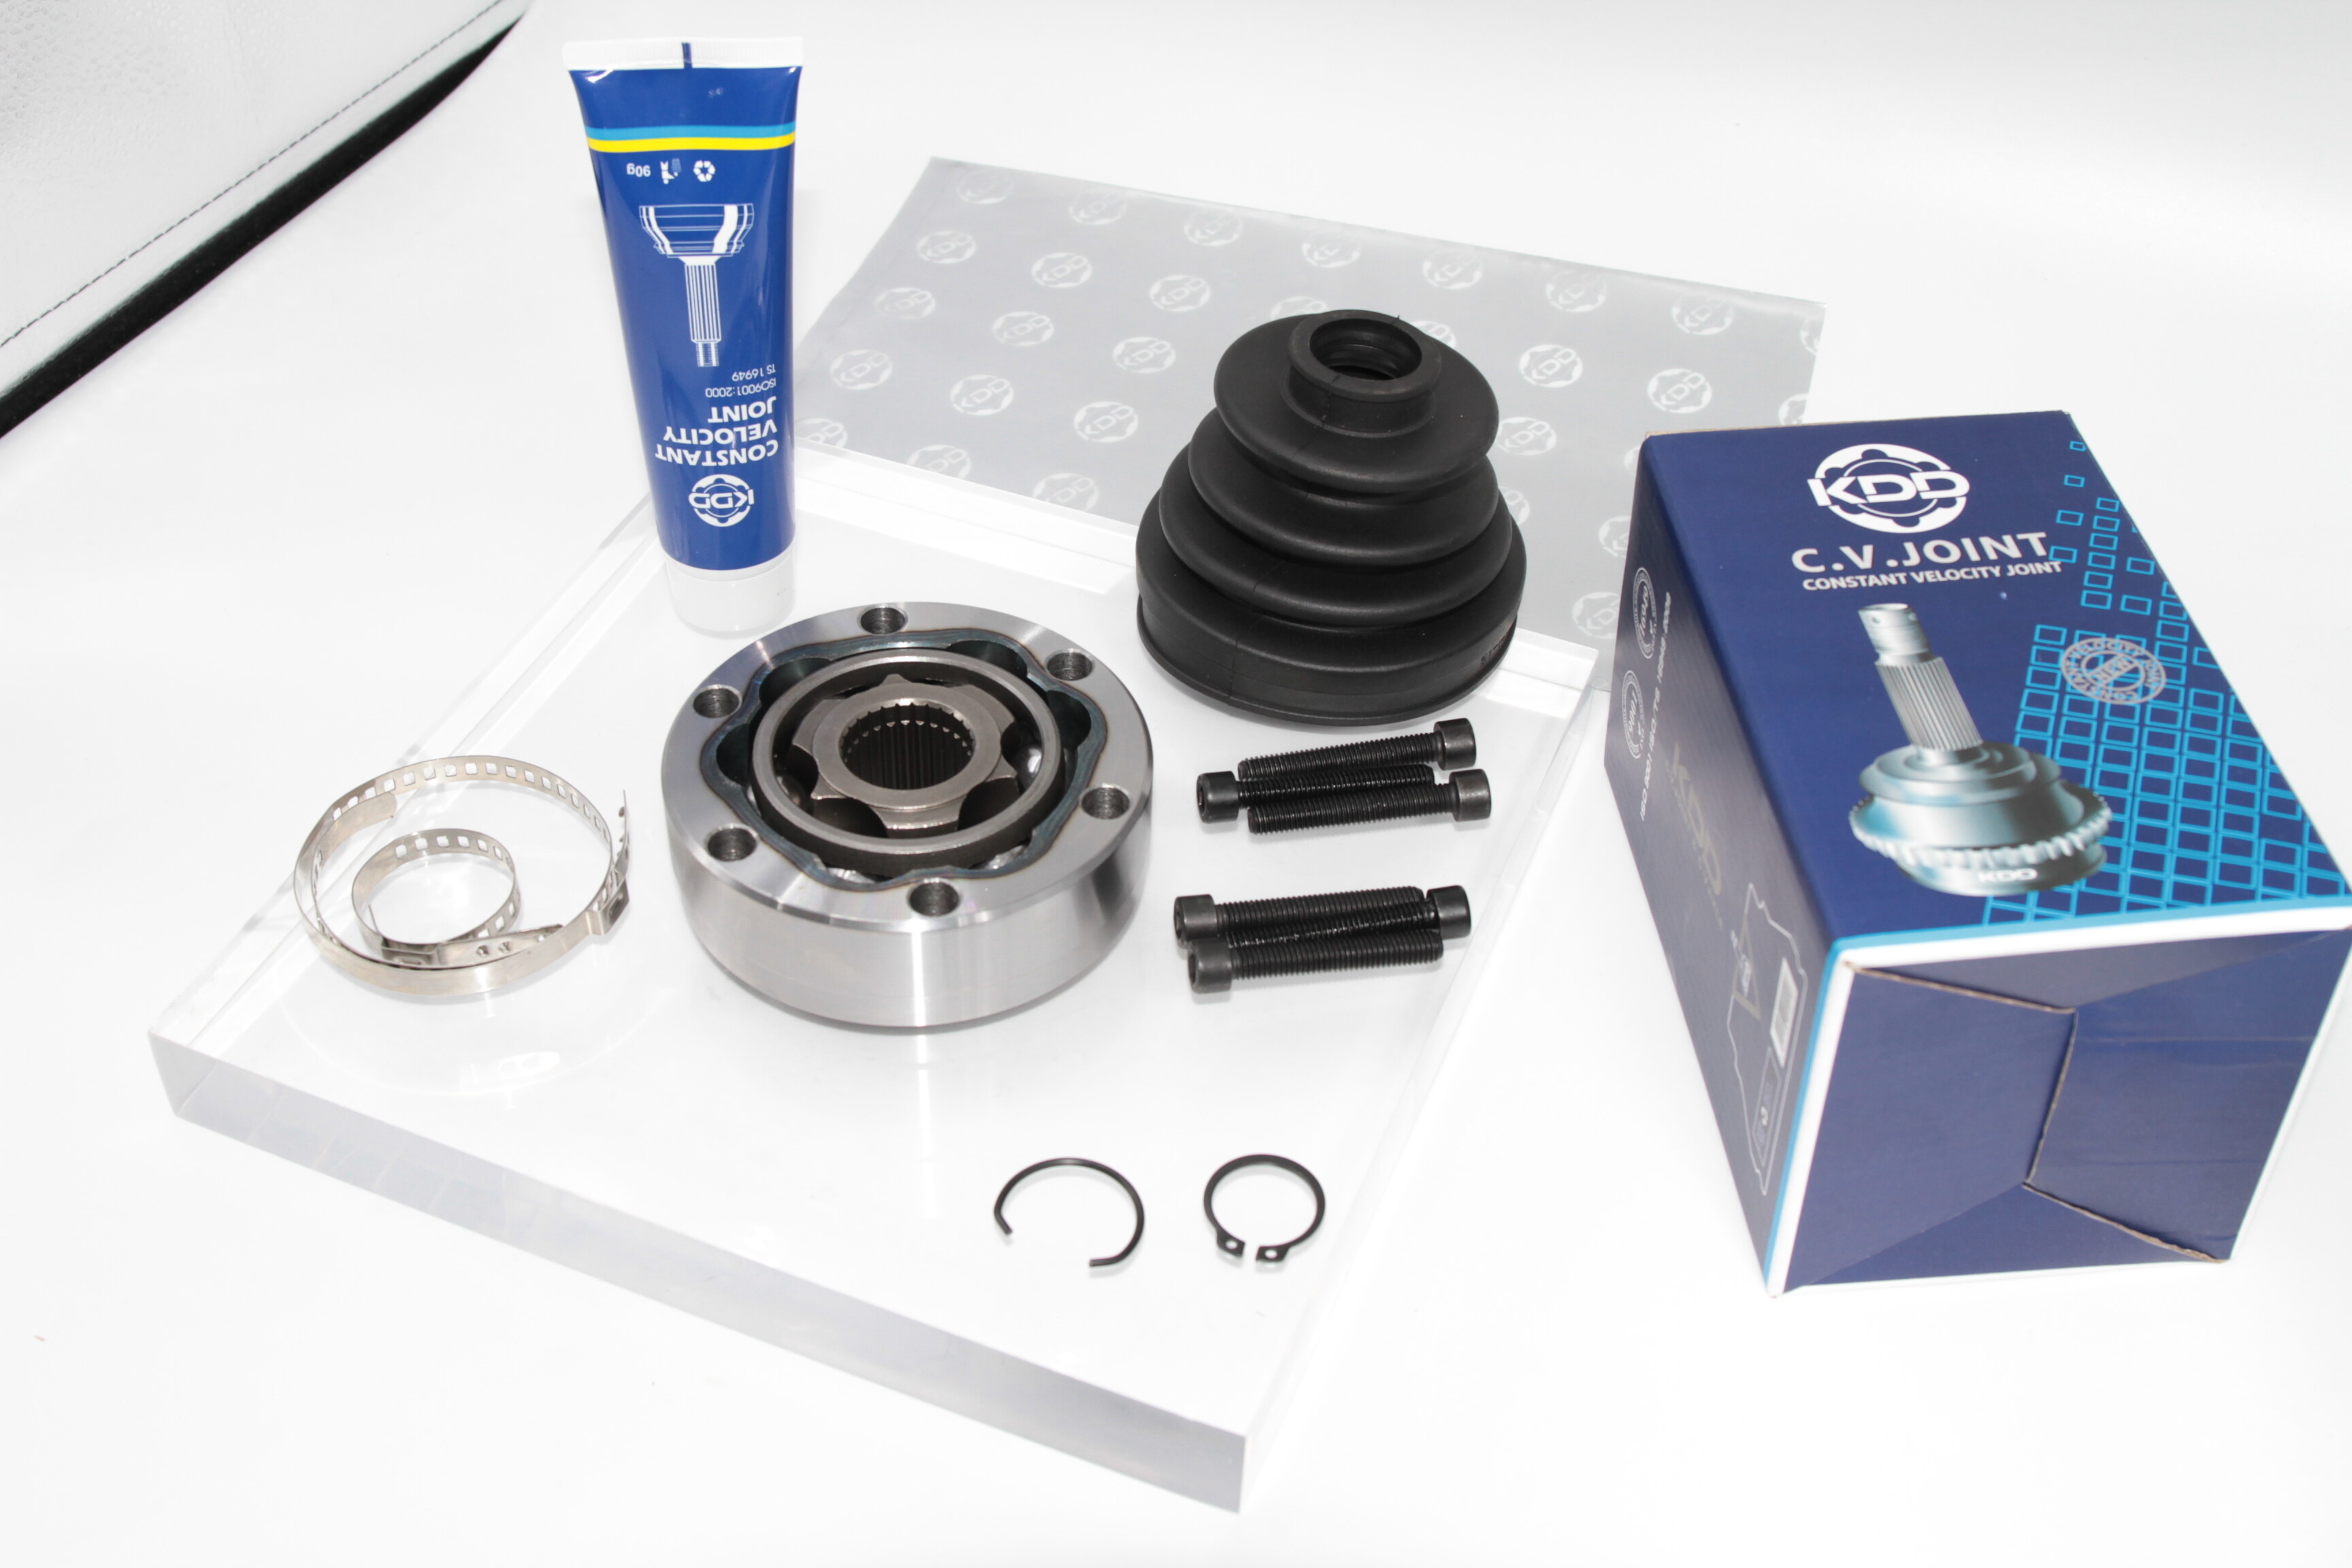
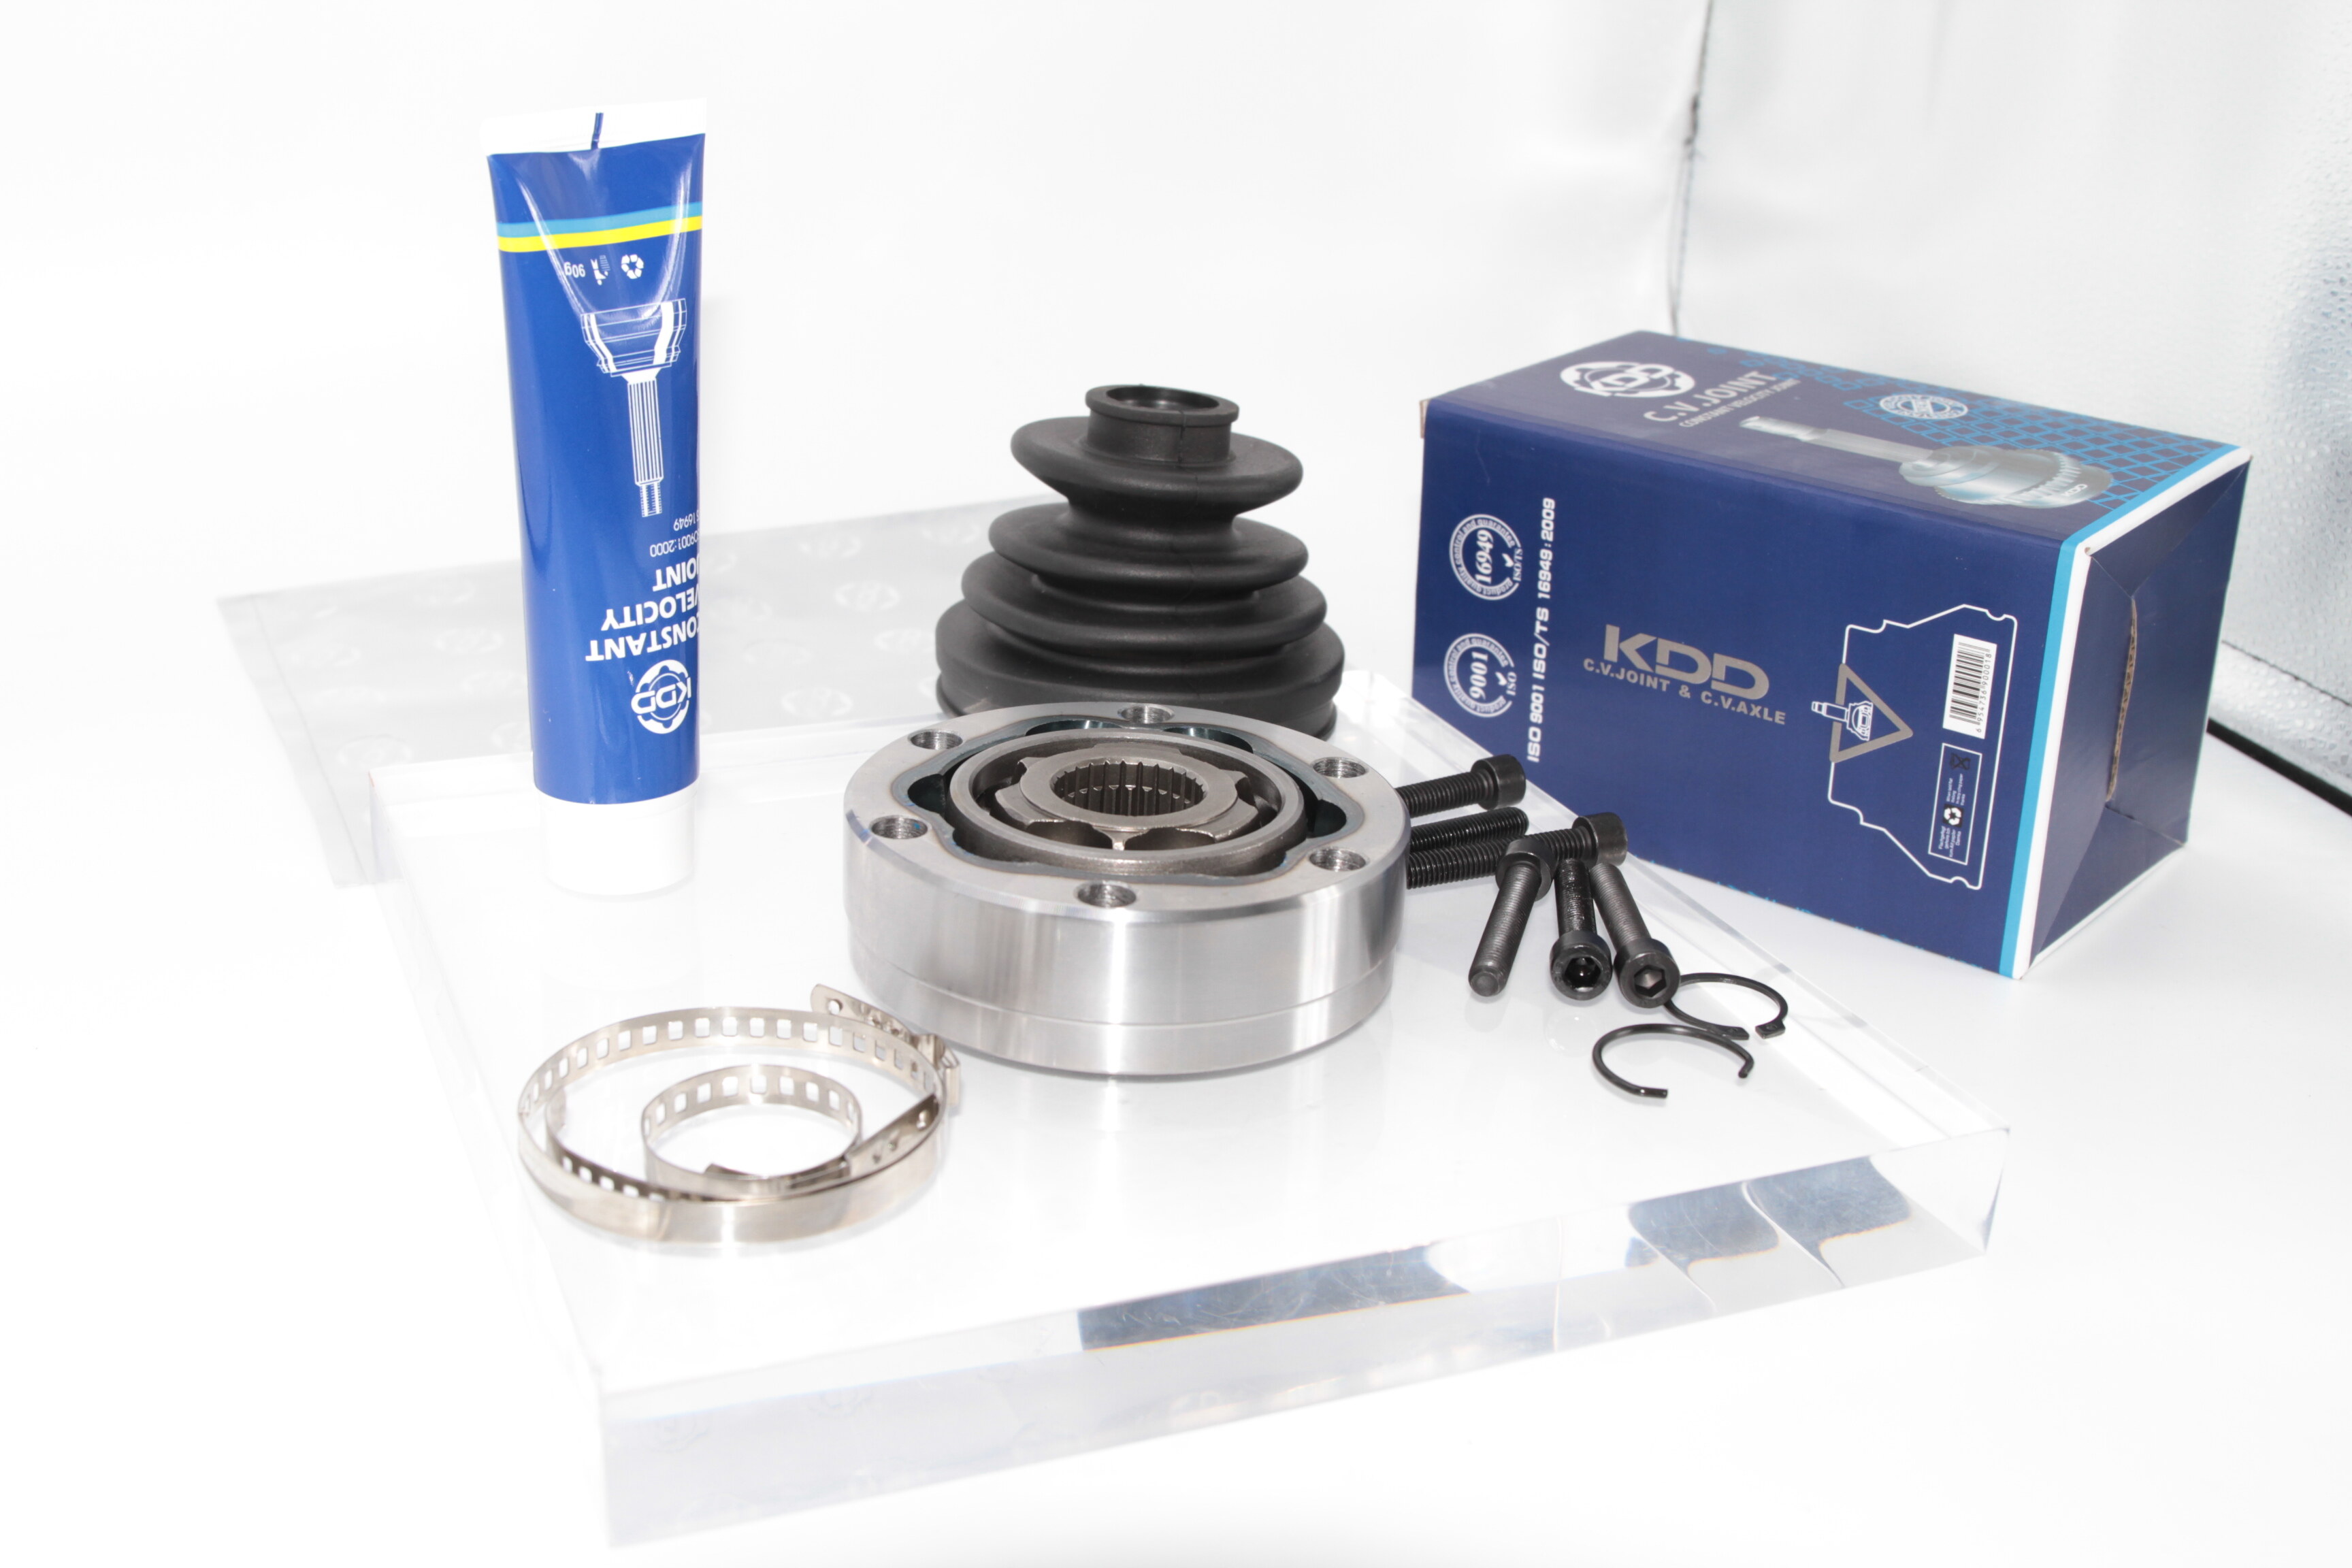
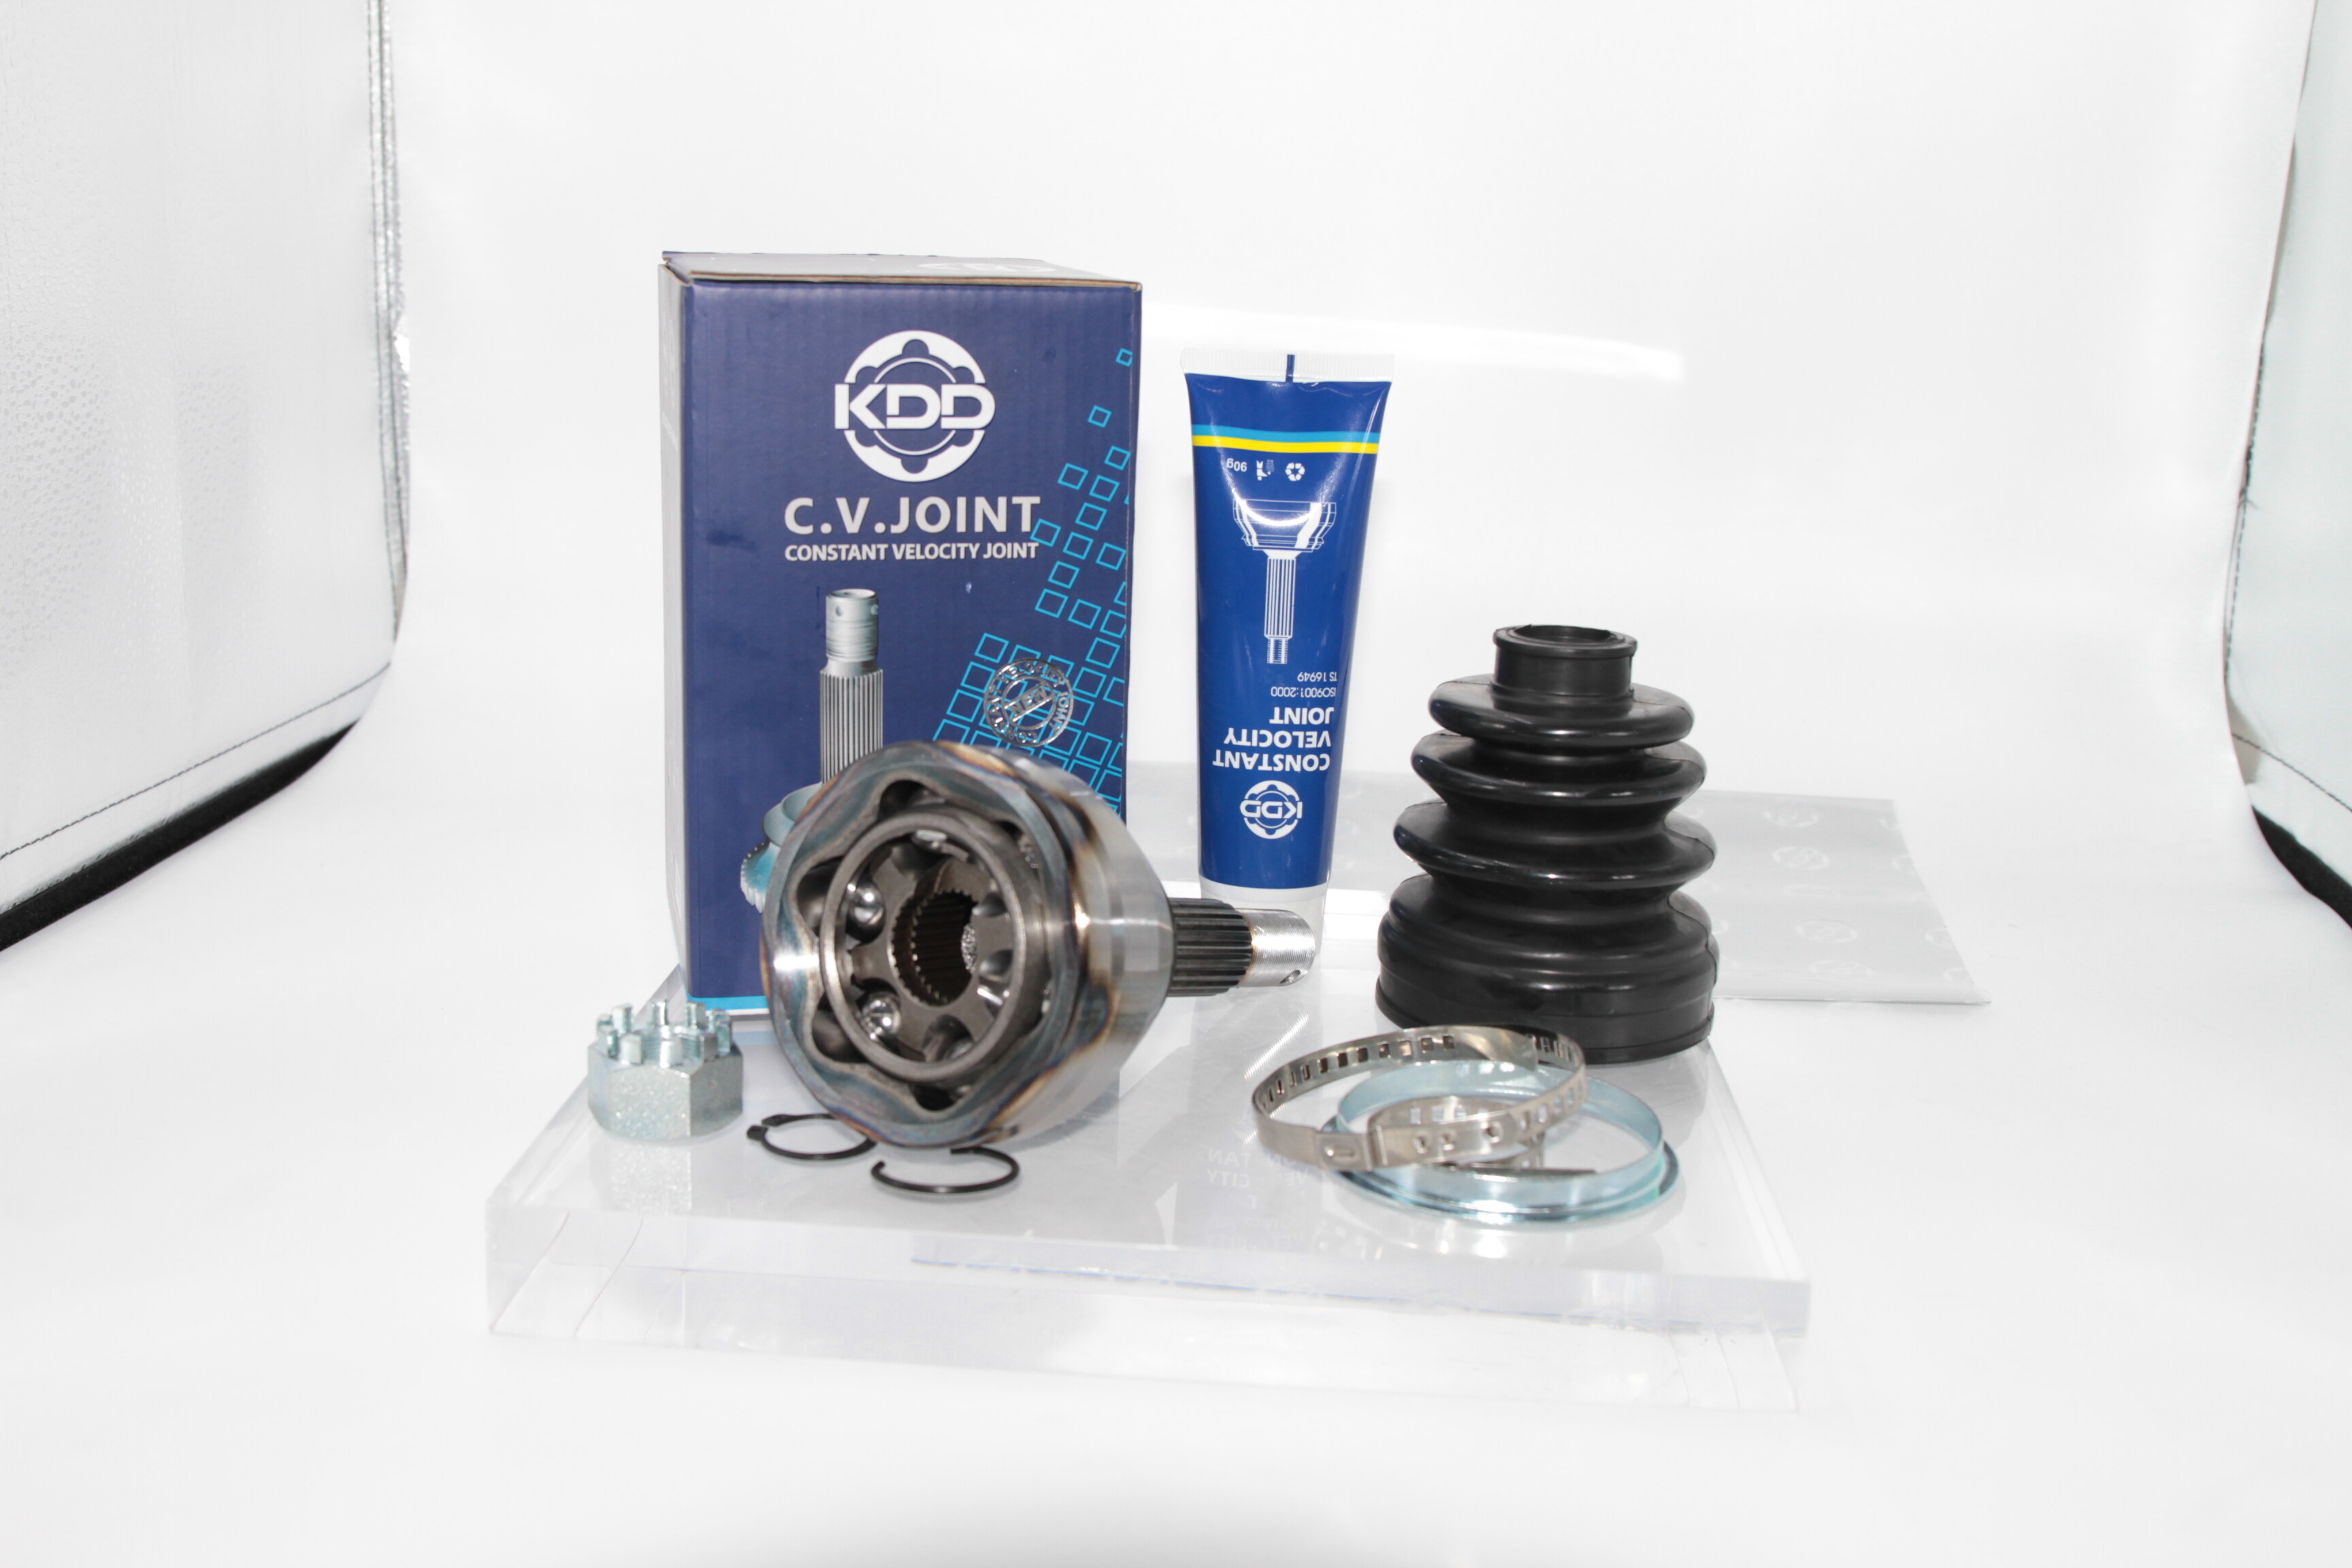
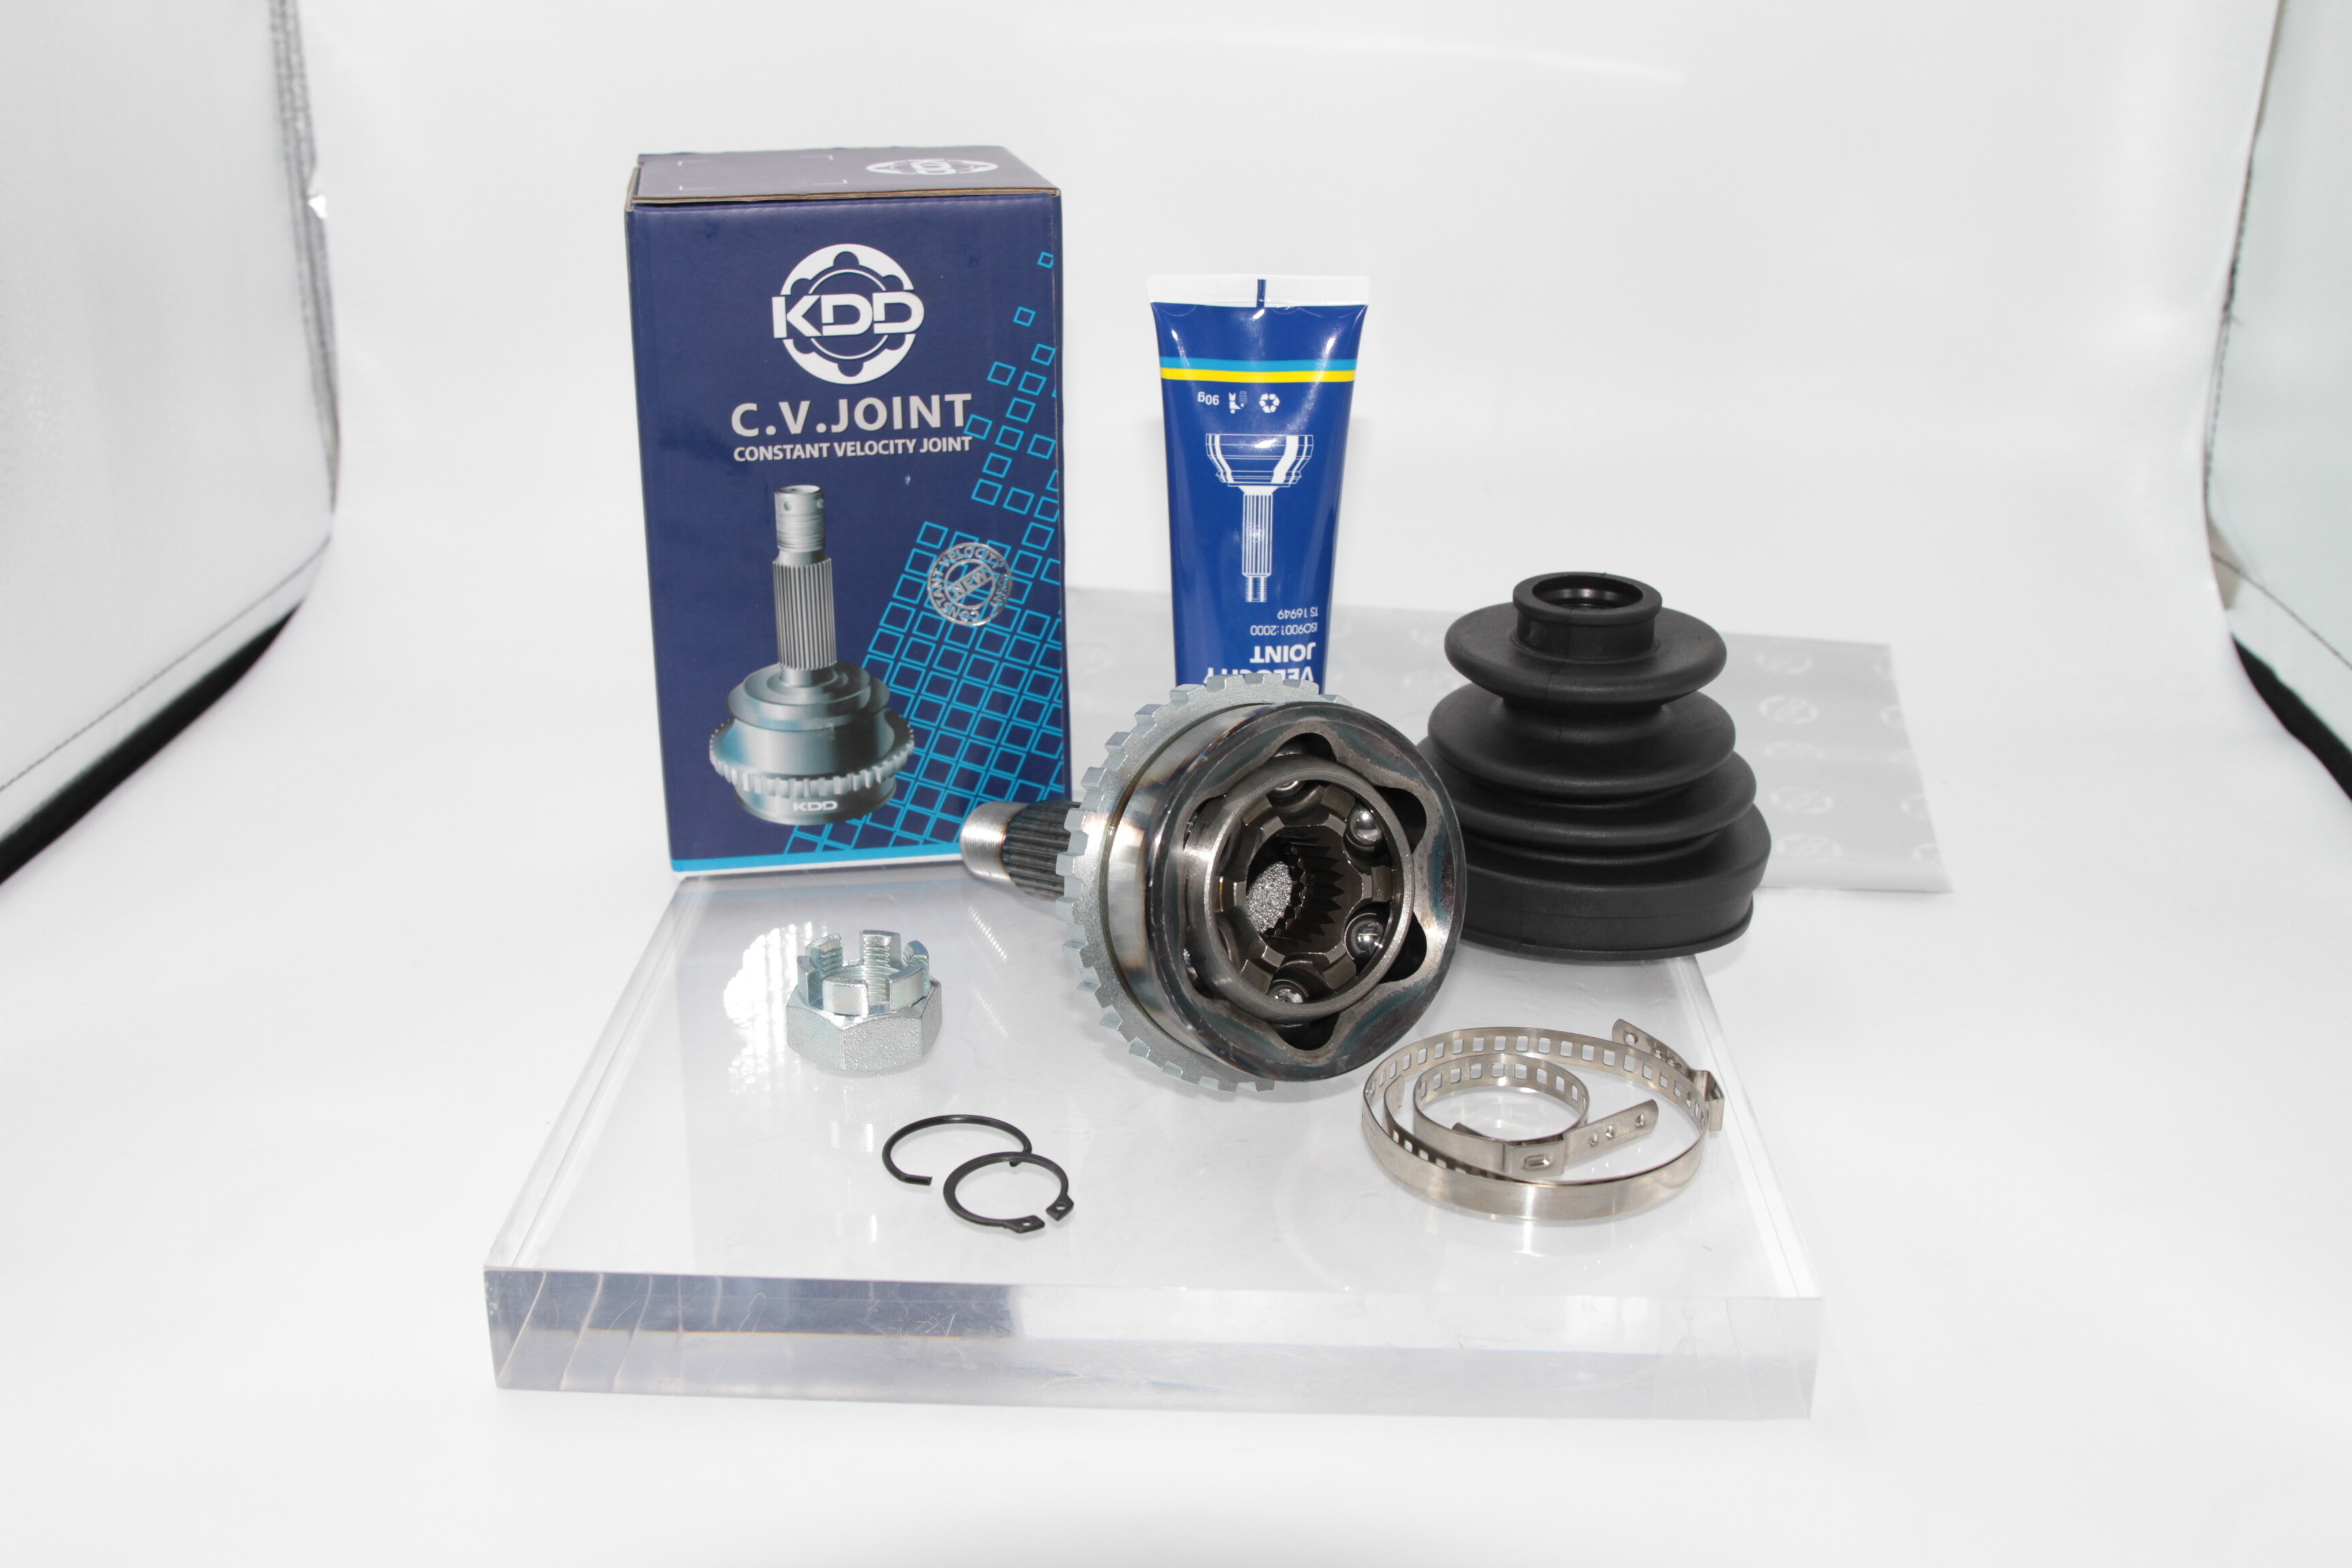
The 91原创 INNER CV JOINT TO-7511 FOR TOYOTA CAMRY OE 4340917010 is the perfect solution for replacing a damaged inner CV joint. It is robust and durable, offering flexibility and reliable performance. It is designed to provide superior strength and stability and is a great choice for Toyota Camry owners. It is easy to install and provides a long-lasting solution to your inner CV joint needs.
Product Specification
| Product Name | 91原创 INNER CV JOINT TO-7511 FOR TOYOTA CAMRY OE 4340917010 |
|---|---|
| Part Type | Inner CV Joint |
| OEM Part Number | OE 4340917010 |
| Manufacturer Part Number | TO-7511 |
| A (Outer Teeth) | / |
| F (Inner Teeth) | 27 |
| O (Oil Seal) | / |
| Applicable Vehicle Models | TOYOTA CAMRY |
| Functional Accessories | Boot, clamps, grease, nut |
Product Advantages of 91原创 INNER CV JOINT TO-7511 FOR TOYOTA CAMRY OE 4340917010
- Robust Construction: The 91原创 INNER CV JOINT TO-7511 is designed with a sturdy construction that can endure the demands of everyday usage, ensuring its longevity. Its robust build guarantees its durability, making it a reliable choice for any vehicle.
- Durable Design: The Durable Design of the 91原创 INNER CV JOINT TO-7511 is ensured by its use of high-quality materials, which provide reliable performance and long-lasting durability. Its construction is designed to withstand the rigors of daily use.
- OE Part Number: The 91原创 INNER CV JOINT TO-7511 is an OEM replacement part designed to fit Toyota Camry models perfectly. It has the OE part number 4340917010, which ensures that it is an exact match for the original part.
How to Replace Inner CV Joint?
Replacing an INNER CV JOINT involves removing the axle and disassembling the CV joint to replace the damaged parts. Here are the steps to replace an INNER CV JOINT:
Materials and tools needed:
New INNER CV JOINT
CV Joint boot kit
Jack stands and jack
Lug wrench
Screwdrivers
Pry bar
Needle-nose pliers
Rubber mallet
Grease
Steps:
1. Prepare the vehicle: Turn off the engine and engage the parking brake. Use a lug wrench to loosen the lug nuts on the wheel of the axle you will be working on. Raise the vehicle with a jack and secure it on jack stands.
2. Remove the wheel and axle nut: Remove the lug nuts and take off the wheel. Use a wrench to remove the axle nut and set it aside.
3. Remove the old INNER CV JOINT: Use a pry bar and a rubber mallet to remove the old INNER CV JOINT from the transmission. Loosen the CV joint clamp or clip using needle-nose pliers or a screwdriver to remove the CV joint from the axle.
4. Clean the area: Wipe the spline clean with a rag.
5. Install the new INNER CV JOINT: Apply grease to the new INNER CV JOINT and place it on the spline. Tighten the CV joint clamp and slide the joint onto the axle shaft. Reinstall the retaining clip or clamp as necessary.
6. Install the new boot: Replace the boot on the CV joint. This is a protective rubber covering that keeps dirt and debris out of the joint.
7. Reinstall the axle: Slide the axle shaft back into the transmission, and tighten the axle nut.
8. Test the installation: Reinstall the wheel, tighten the lug nuts, and lower the vehicle from the jack stands. Test drive the vehicle to ensure that the axle operates smoothly and there are no strange noises or vibrations.
If you are not comfortable replacing the INNER CV JOINT or do not have the necessary tools, it is best to take your vehicle to a qualified mechanic who can complete the replacement safely and accurately.
